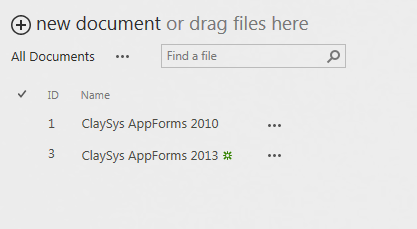
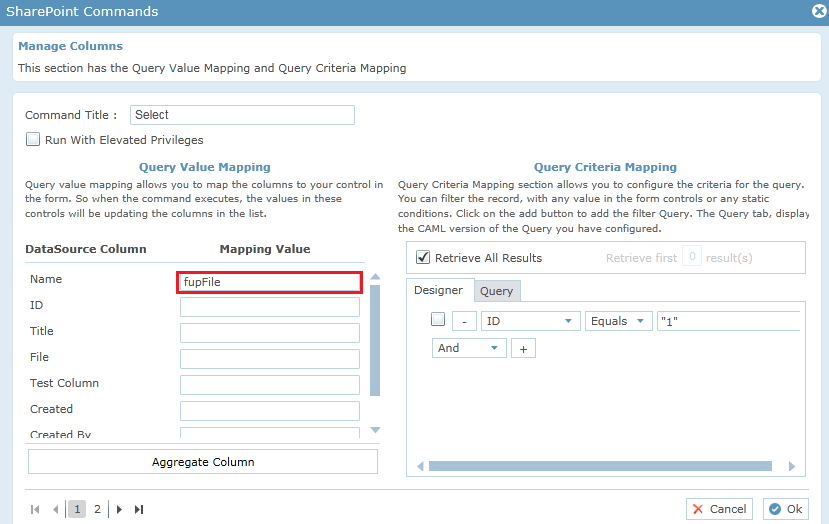
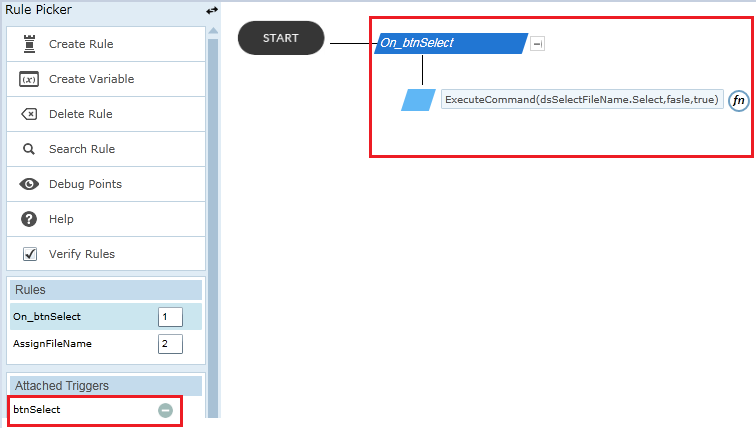
In the form include a FileUpload control and Select the particular files to that FileUpload control while setting up the datasource in the trigger of a button. This is shown below.
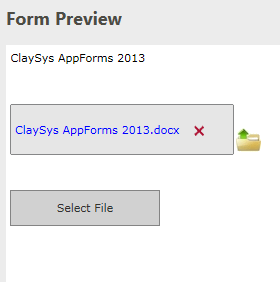
While doing this we are getting that particular file inside the FileUpload control. Now on the trigger of the FileUpload control write a rule as shown below.
Here, on the trigger of the FileUpload control we are getting the file name and setting it to the Label control.
GetFileName have the following syntax,
Where the second argument Has Extension can be set to True when the user needs to display the extension of a particular file.
How to Configure a YES or NO MessageBox using pop up form
In Claysys AppForms a user can add a message box with two types of button, either OK or OK/CANCEL. In rare cases there may be needs for users to add buttons with other values.
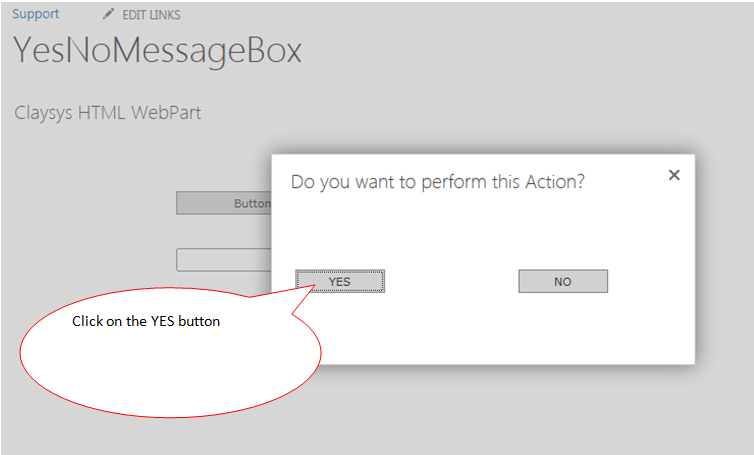
Here we are demonstrating how you can add a message box with Yes or No Buttons using pop up forms.
Step 1
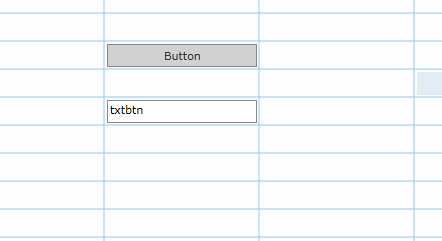
Create a Form. Name it as ParentForm.
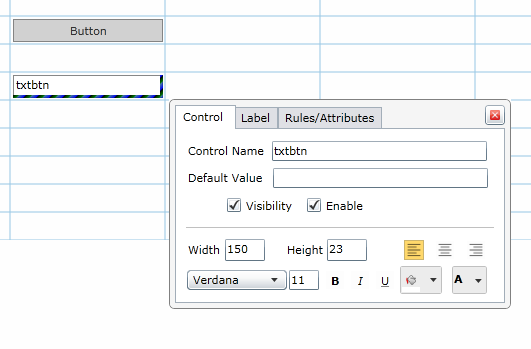
Drag and drop a Button control and Textbox Control.
Step2
For the time being save and checkin the current form.
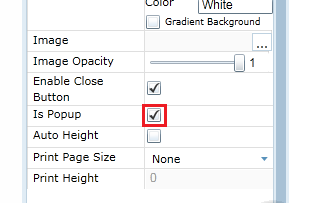
Create another Form. Name it as pop up form.
In the property window of the new form check the Is Pop up Property to set this new form as a pop up form. Save and checkin the pop up form.
Step3
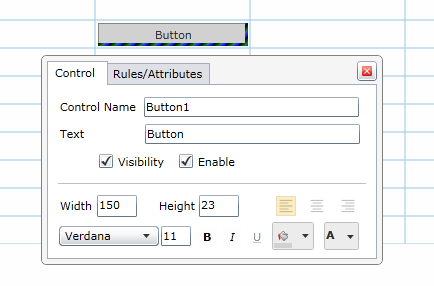
Load the ParentForm.
Click on the button control.
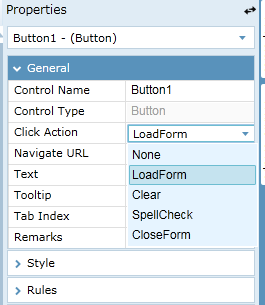
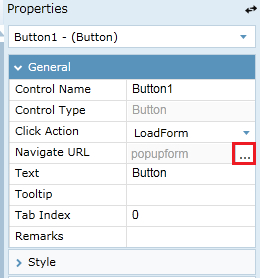
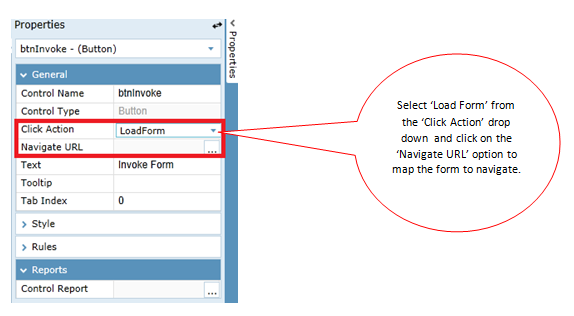
In the Property window of the button control, Click on the Click action drop down menu and select “LoadForm” option.
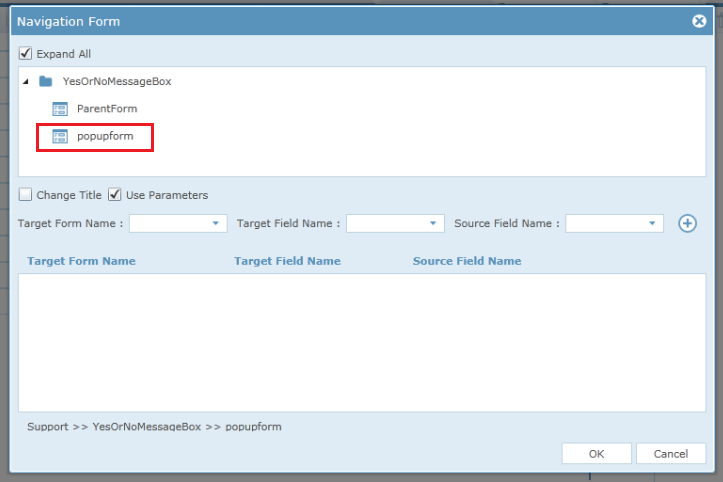
Click on the Navigate URL menu which is just beneath Click Action menu .
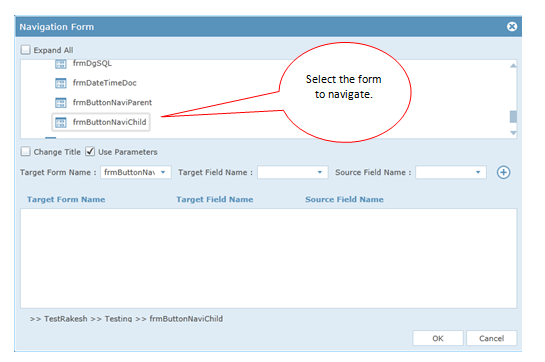
A Pop up window will open prompting the user to select the form to load after the button click. In this scenario we need the pop up form to be loaded. So select the pop up form and click OK.
Step4
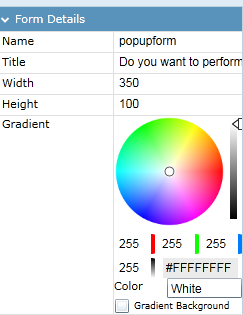
Load the pop up form.
Configure the height and width of the pop up form so that it appears to be a message box .
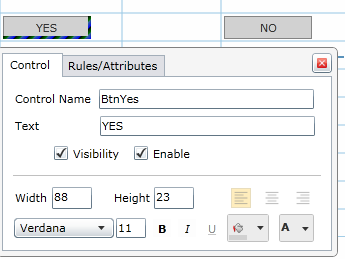
Add two buttons in the designer and give the default values as Yes and No.
Step5
Set the rules and actions for the button control.
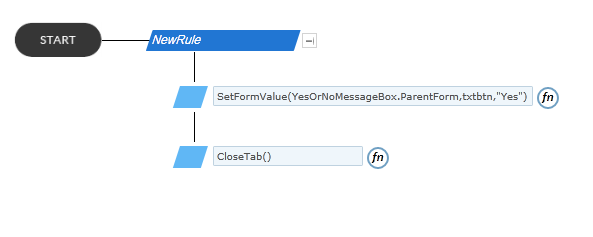
On the trigger of the YES button write a rule like this
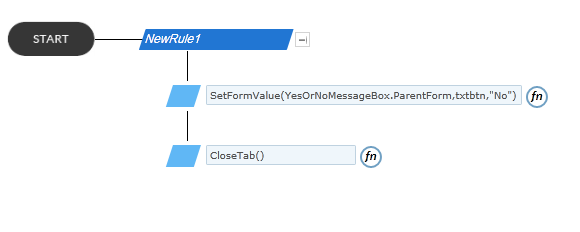
On the trigger of the NO button write a rule like this
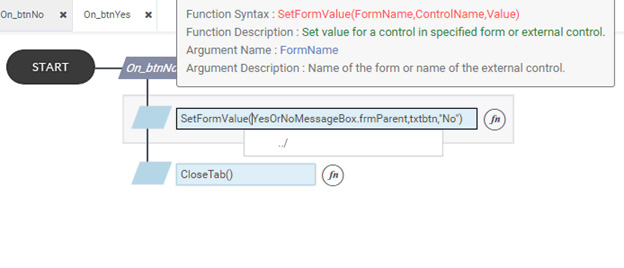
The syntax of the function SetFormValue() is
By calling the SetFormValue() function we are passing a value from a form to another form on a trigger, like a button or a value change.
In this scenario, the function SetFormValue() carries three arguments
1.Name of the form, to which the value is being passed.
Here it is “YesOrNoMessageBox.ParentForm”.
2.Name of the control to which the value is being passed.
Here it is “txtbtn”.
3. The value to be passed. It can either be a string or control value.
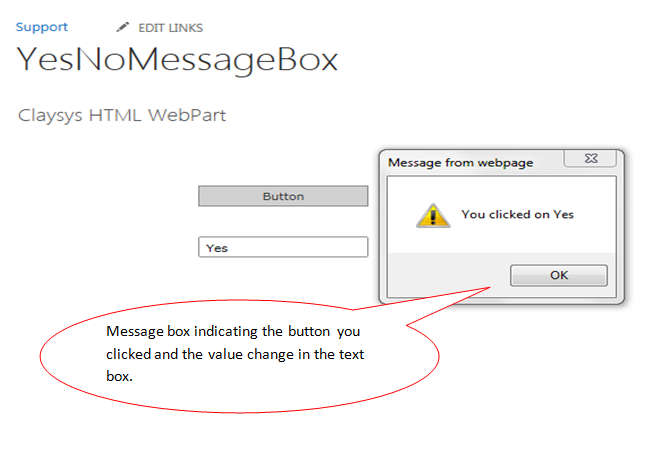
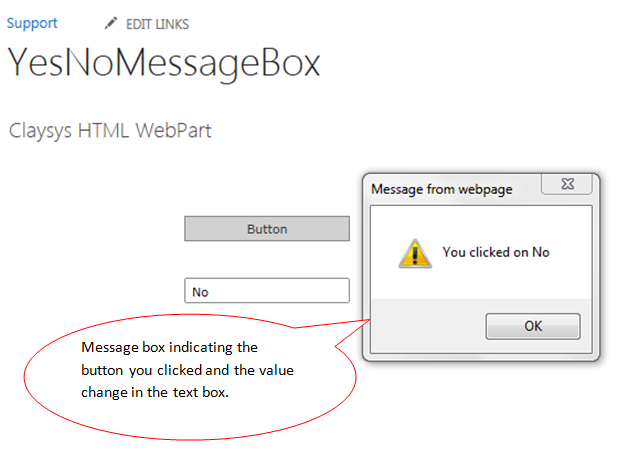
Here we are passing the string value “Yes” / “No”
We also included a CloseTab() function as we are configuring a pop up form to a message box functionality .So once the user click on the ‘YES’ button the pop up form will be force closed. Same way for the ‘NO’ button. Save and checkin the form.
Step6
Load the parent form.
We have to check whether the Values Yes and No is being passed, for that we are adding a textbox control.
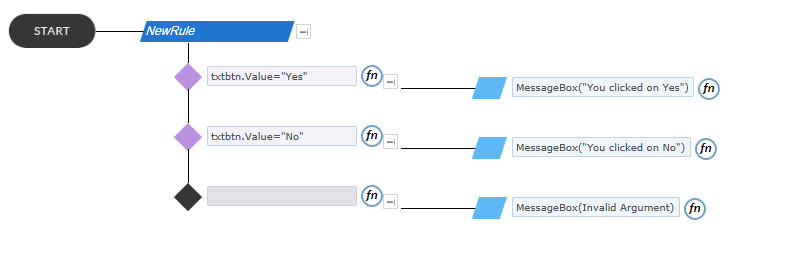
On the trigger of the textbox control create the rule to display what value is being passed to the form by using a MessageBox.
Note: The SetFormValue() will only work on WebPart. So to get the desired output add the forms to the web part and preview the output.
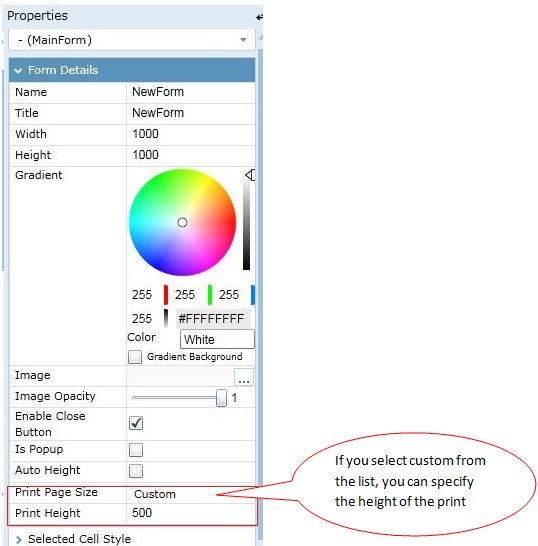
Think of a situation where you are dealing with forms that include potential data and you need to save it your system. In ClaySys AppForms we have provision for saving the forms using the SaveAsPdf() function. A user can also set the page size and formats by using Me.PrintPageSize().
This is illustrated below.
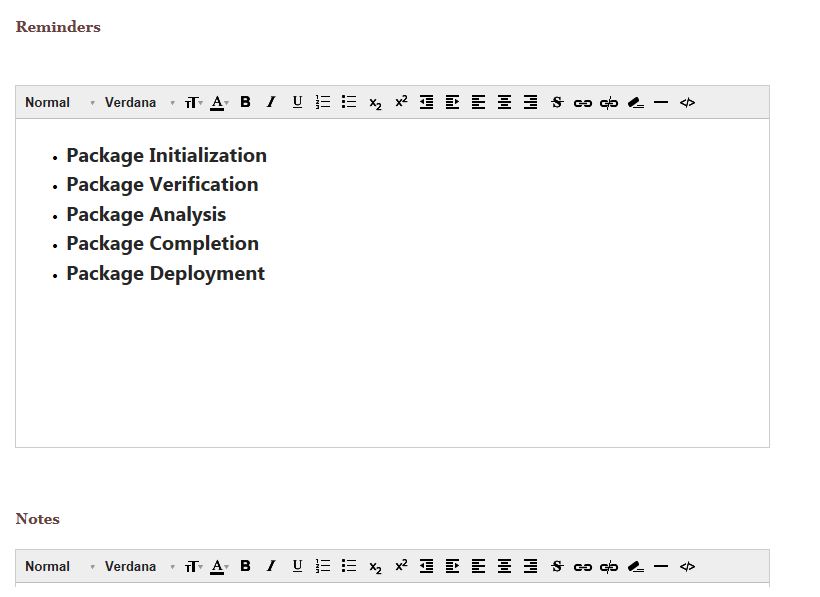
Create a form.
Here we are demonstrating the scenario with a sample form.
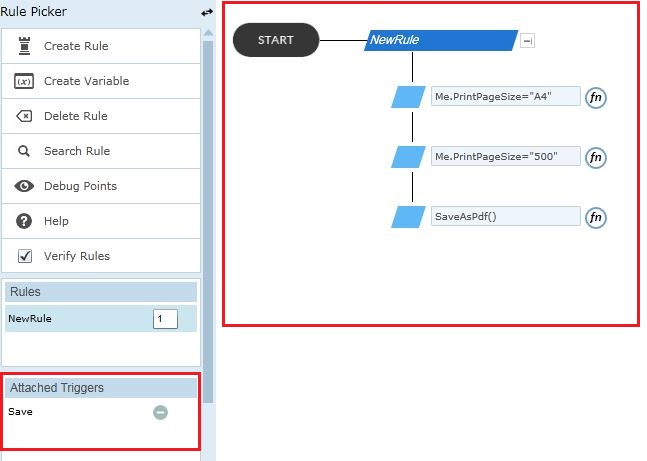
In the trigger of this button (‘Save’) write a rule to save this form as a pdf file. This is illustrated below.
Form can be saved as PDF with fixed page sizes or we can add custom page sizes too. This has been implemented in Rules with “Me.PrintPageSize” property. If Me.PrintPageSize is set with a numerical value, then the pdf will consider that as custom, and the corresponding sized pages will be created.
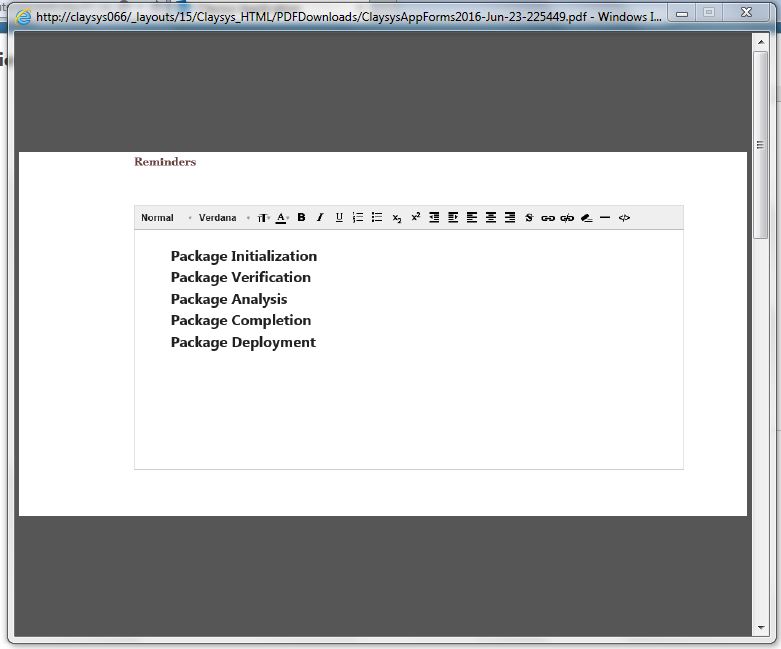
So on the click of the ‘Save’ button our form will be converted to pdf according to the size properties and a pop up will be shown.
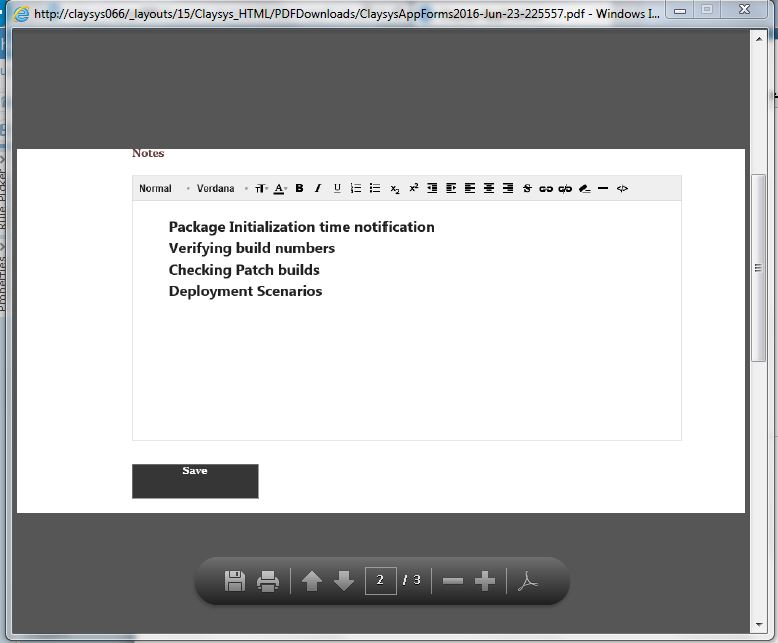
Page Number Indication
Similarly, we can implement the same scenarios using the controls in the property window of the form.
So instead of writing rules, you can assign the values directly from the property window.
Two options are available for form navigation .They are :
1. By using the rule ‘ LoadForm’.
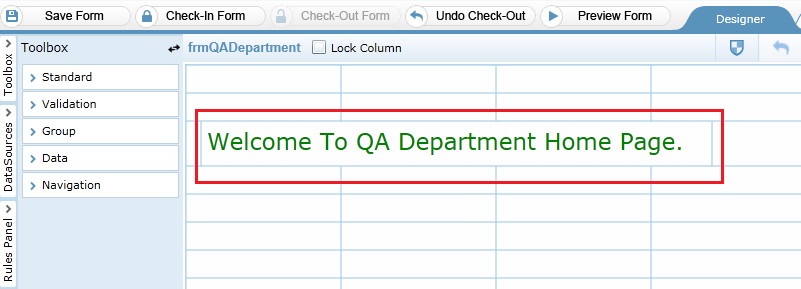
Step 1 : Create a form ‘ frmQADepartment ‘ with a label control in it as shown in figure 1. Similarly create forms for Development and configuration department respectively.
Figure 1
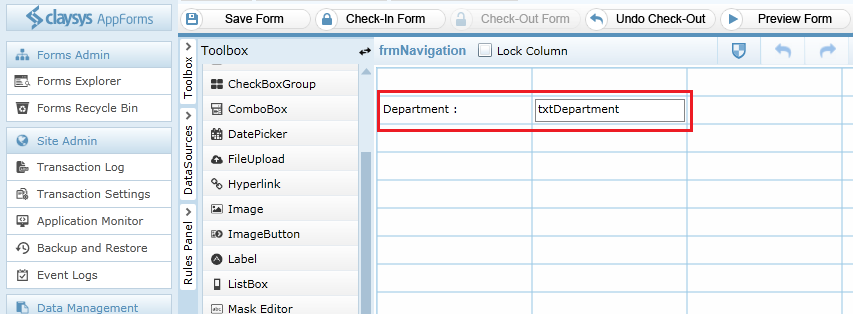
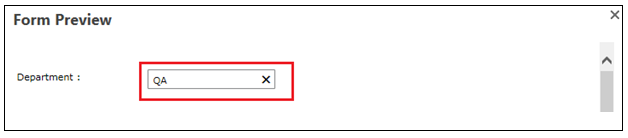
Step 2 : Create a form with a text-box control as shown in figure 2.
Figure 2
Step 3 : Create a rule on text-box control ‘txtDepartment’ . By clicking on the ‘txtDepartment’ control, a popup appears click on ‘Rules/Attribute’ tab and then click on ‘Create Rule’ option .
Figure 3
Step 4 : Define the rule for loading the corresponding form by checking the input value in ‘txtDepartment’ control . If the input value in ‘txtDepartment’ control is “QA” then load the form which is the home page of QA. Here in the rule ‘LoadForm(Test.frmQADepartment) ‘ , ‘Test’ is the root folder name in which the form ‘ frmQADepartment ‘ is present . Root folder name and form name is separated by dot operator.
Figure 4
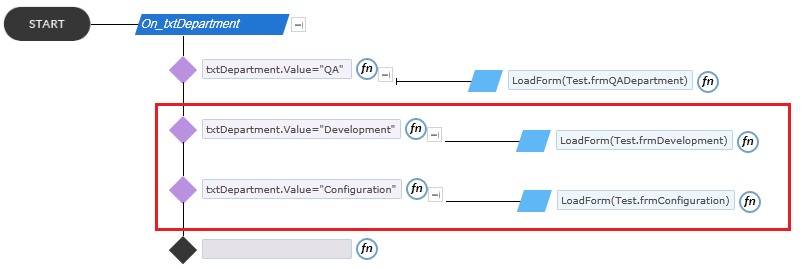
Step 5 : Similarly define rule for Development and configuration department as shown in figure 5 .
figure 5
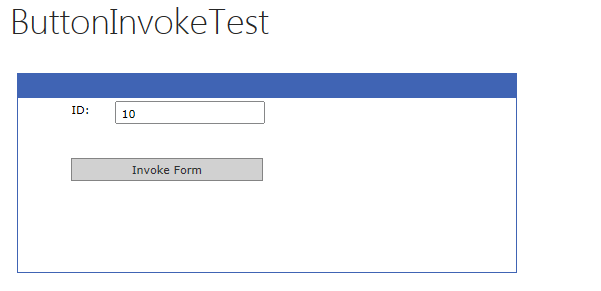
Preview :
figure 6
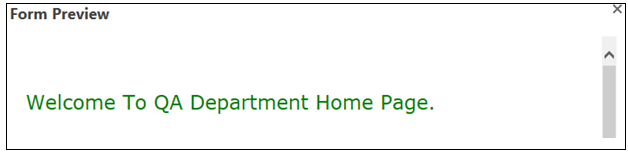
Enter an input value in the department text box . for example give ‘QA’ as the input value then the QA home page will be loaded as shown in figure 7.
Figure 7
2. By Invoking Buttons
Step 1 : Create a form ‘ frmQADepartment ‘ with a label control in it as shown in Figure 8. Similarly create forms for Development and configuration department respectively.
Figure 8
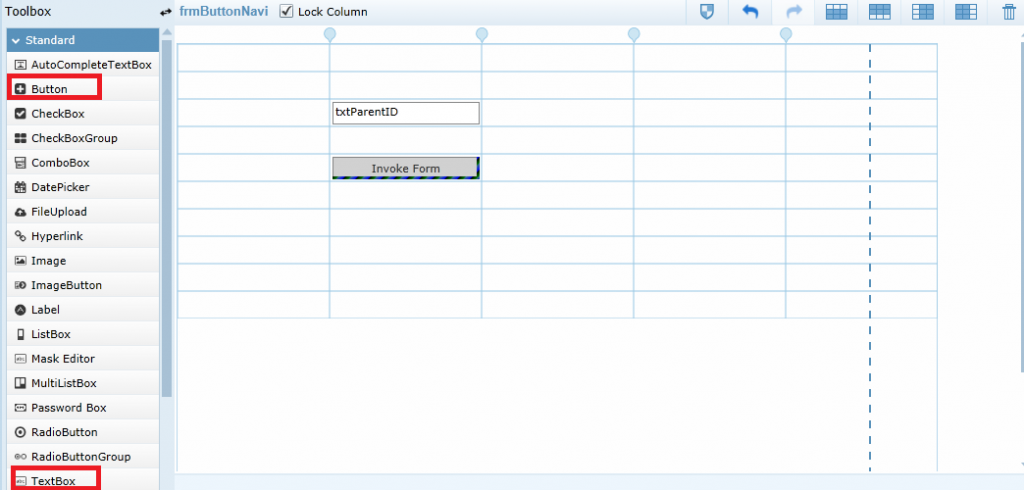
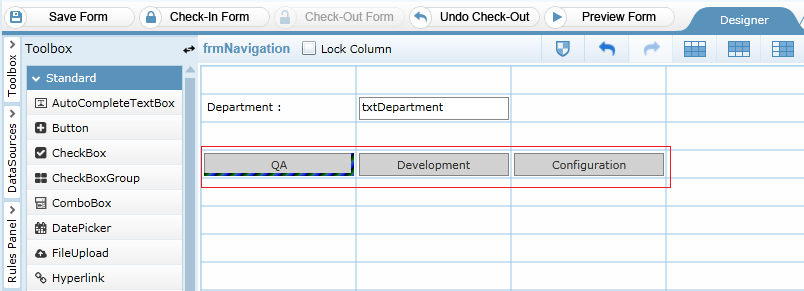
Step 2 : Create a form with a text-box control and 3 buttons as shown in figure 9. We use each button to invoke respective forms.
Figure 9
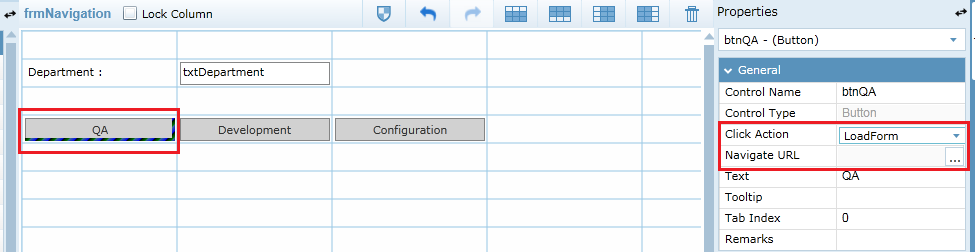
Step 3 : Click on ‘QA’ button . From the button properties at right side of designer , choose ‘Click Action’ option as ‘LoadForm’ . And then click on Navigate URL icon.
Figure 10
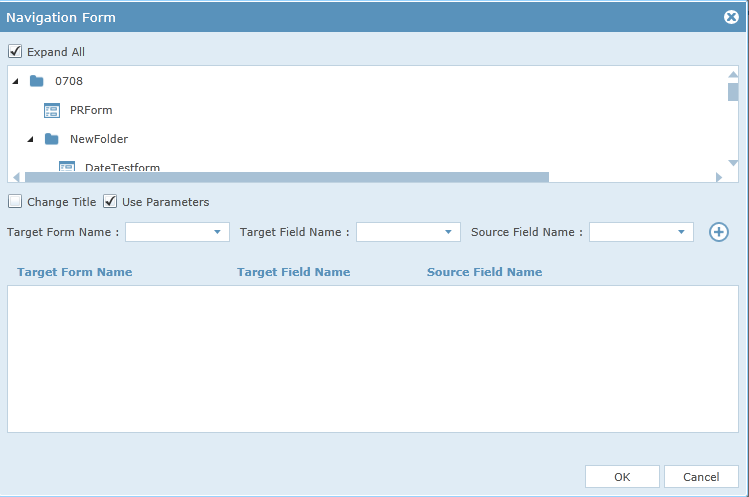
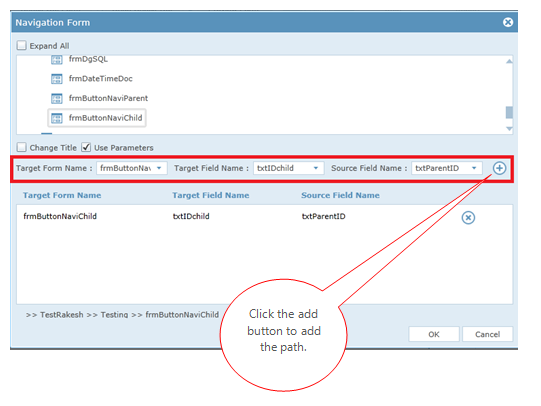
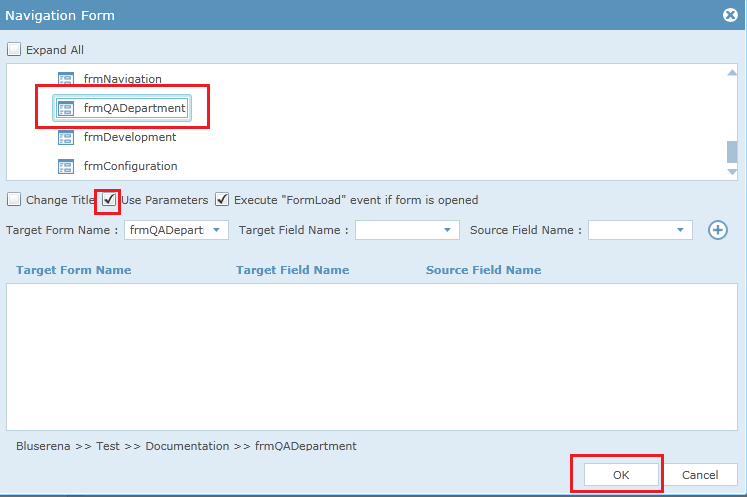
Step 4 : On clicking Navigate URL icon a ‘Navigation Form’ popup appears . Select the form to be loaded . Here we select ‘frmQADepartment’ which is the home page of QA department. Un-check the ‘use parameters’ option since we don’t want to pass parameter to the form. Click ‘Ok’ button. Similarly set navigation for Development and configuration buttons .
Figure 11
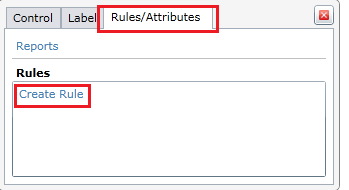
Step 5 : Create a rule on ‘txtDepartment’ . By clicking on the ‘txtDepartment’ control, a popup appears click on ‘Rules/Attribute’ tab and then click on ‘Create Rule’ option .
Figure 12
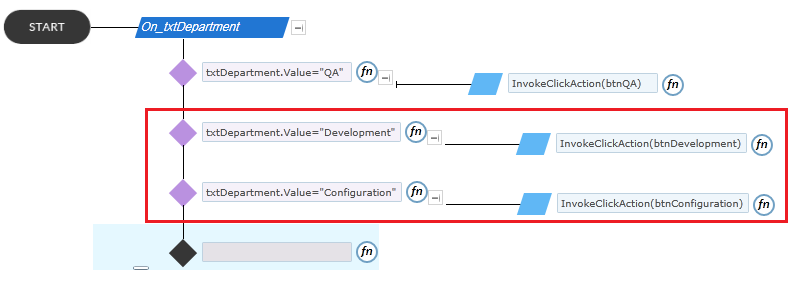
Step 6 : Define the rule for loading the corresponding form by checking the input value in ‘txtDepartment’ control . If the input value in ‘txtDepartment’ control is “QA” then load the form which is the home page of QA. To load form we use the rule ‘InvokeClickAction(btnQA)’ to invoke the button QA. The control name of button ‘ btnQA ‘ is passed as parameter to InvokeClickAction( ) .
Figure 13
Step 7 : Similarly define rule for Development and configuration department as shown in figure 14 .
Figure 14
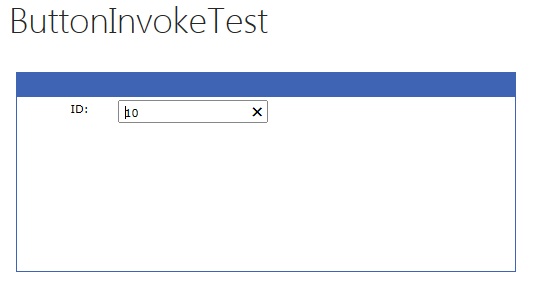
Preview :
Figure 15
Enter an input value in the department text box . for example give ‘QA’ as the input value then the QA home page will be loaded as shown in figure 16 .