RESTful Service
A RESTful web service is a web service that adheres to the principles and constraints of REST (Representational State Transfer). RESTful web services are designed to be scalable, stateless, and simple, leveraging standard HTTP methods to perform CRUD (Create, Read, Update, Delete) operations. Let’s discuss the configuration of RESTful webservice in Form Datasource.
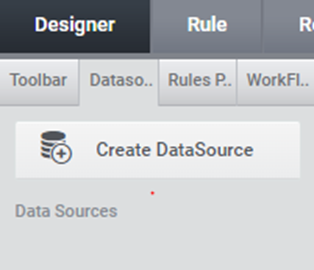
1.Click on Create DataSource button as shown in the image below.
2.Select RestFul Datasource type in the DataSource window as shown in the image below.
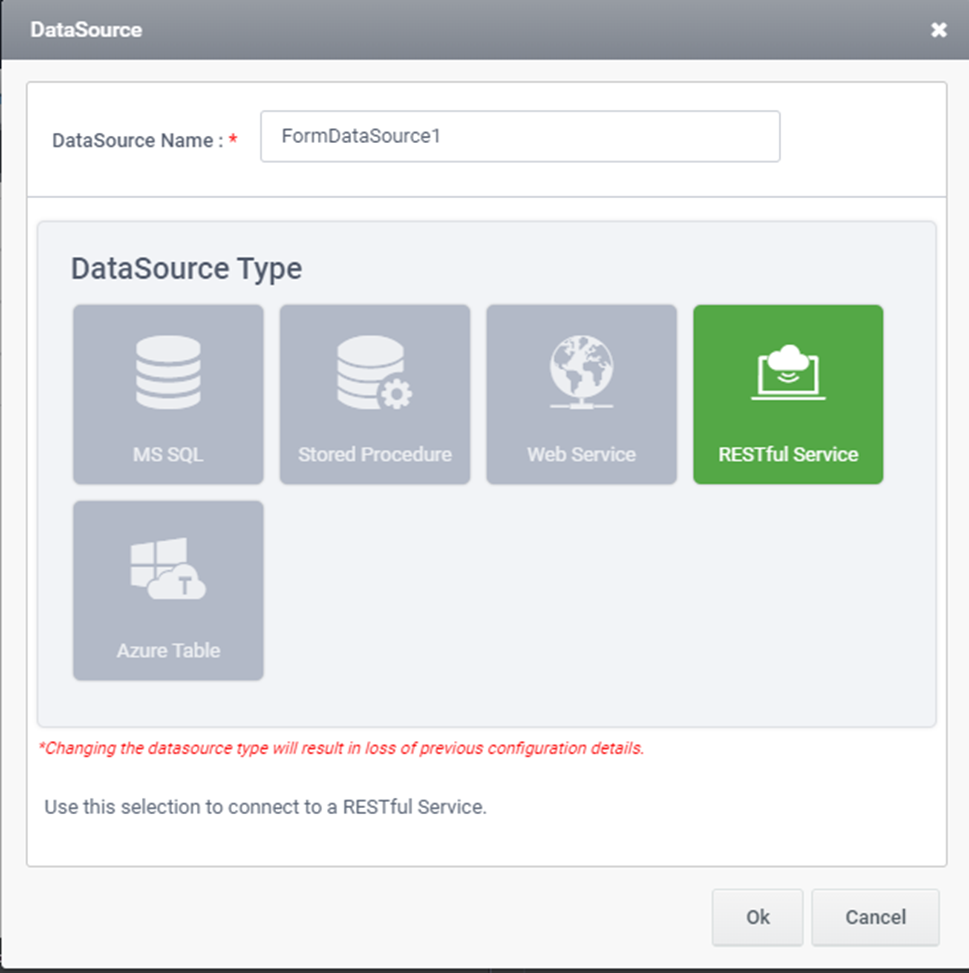
3.Click Ok. DataSource Wizard appears where available datasources will be listed as shown in the image below.
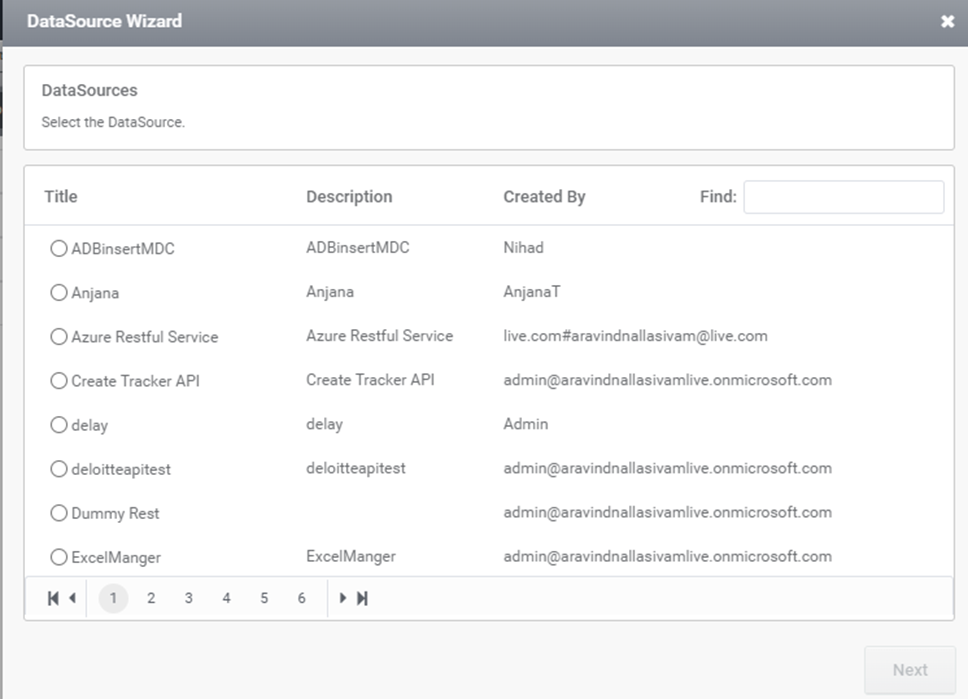
4.Select the required datasource and click next button. The next window appears for command configuration as shown in the image below.
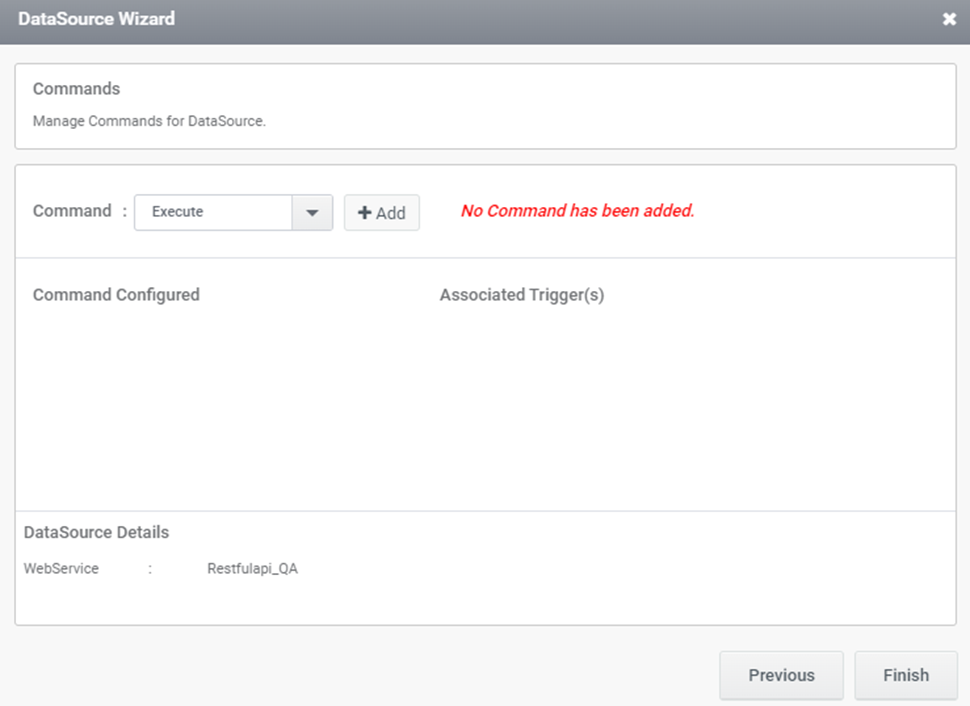
5.Select Execute command and Click on Add button. Manage Webservice Method window appears as shown in the image below.
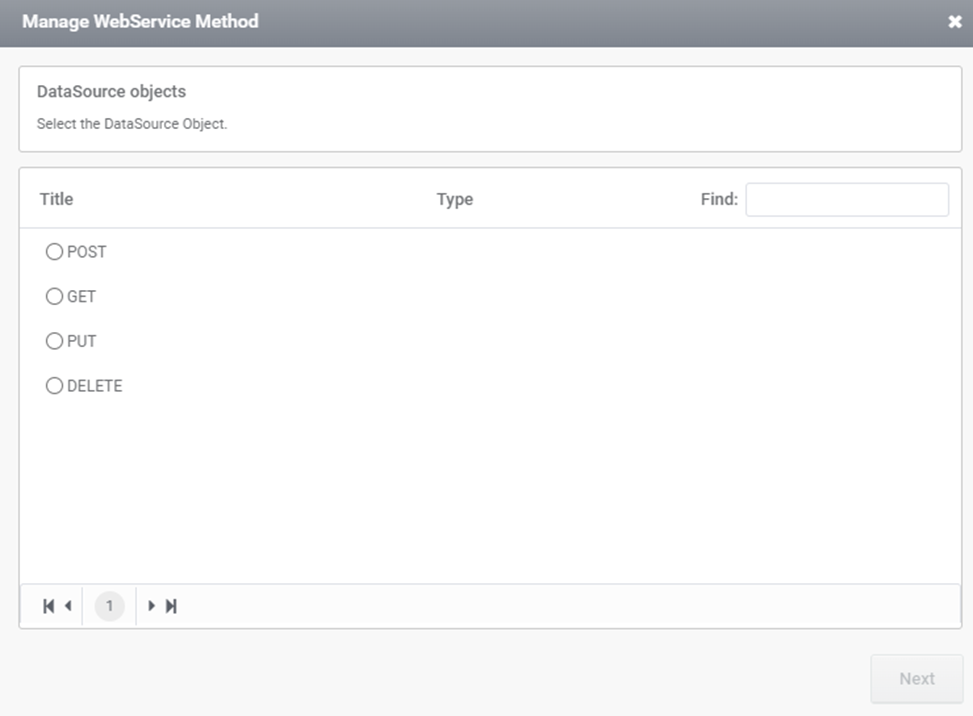
6.Select the required method:
POST: The POST method is used to send data to a server to create a new resource.
GET: The GET method in RESTful APIs is used to retrieve data from a server.
PUT: The PUT method in RESTful APIs is used to update or replace a resource on the server.
DELETE: The DELETE method in RESTful APIs is used to request the removal of a resource from the server.
7.Select the required method and click Next button. Manage webservice method window appears as shown in the image below.
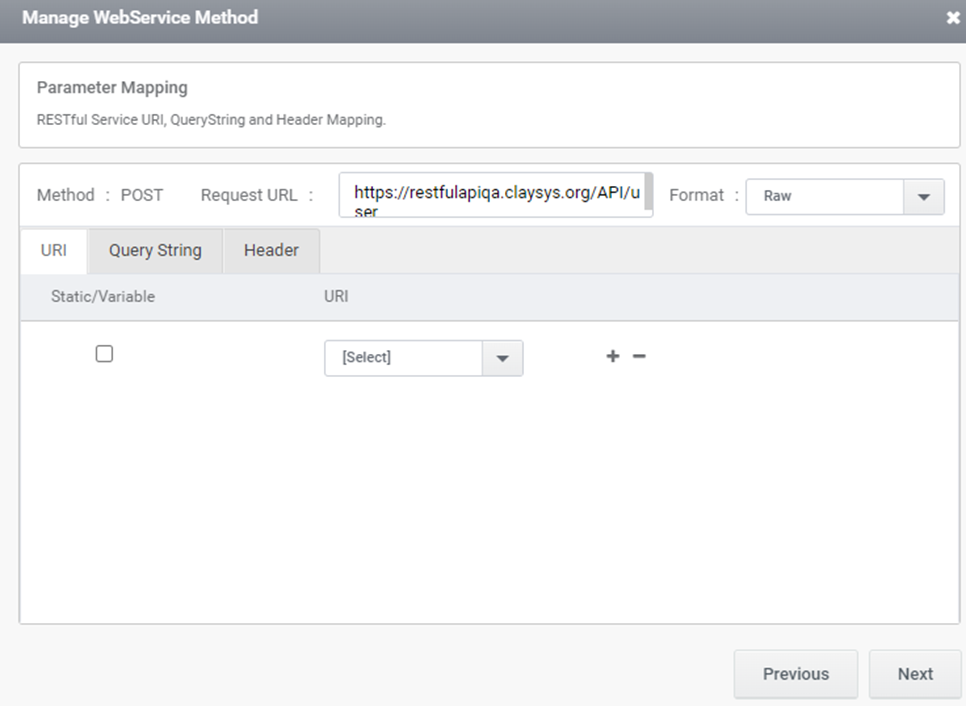
8.Restful service URL, Query string and header mapping can be done in this window. Click Next button.
9.Enter the sample body in the body part shown in the image below.
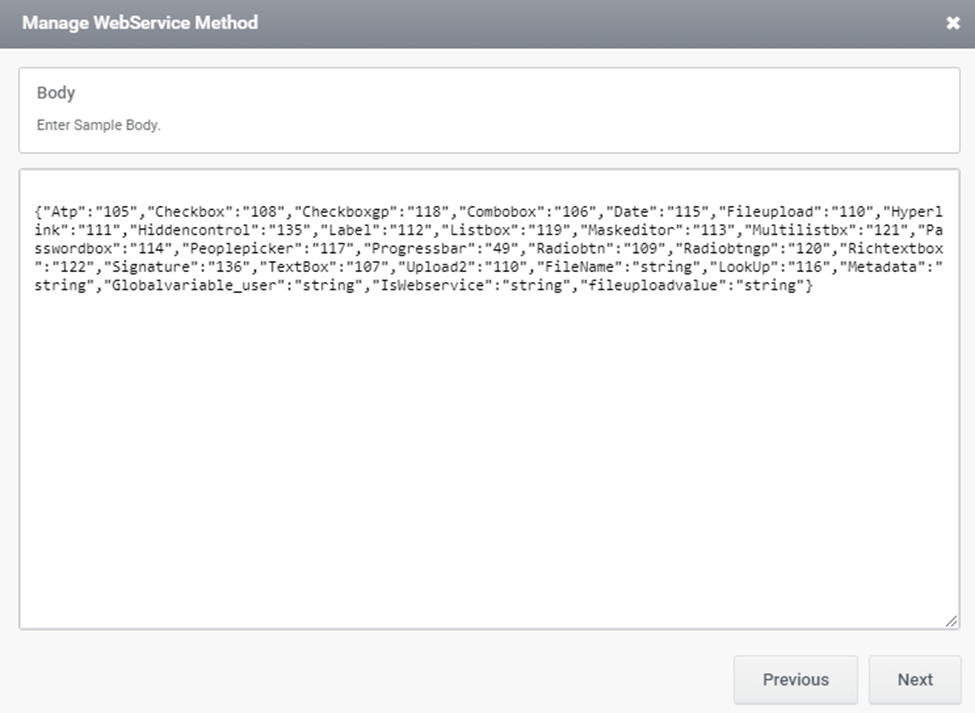
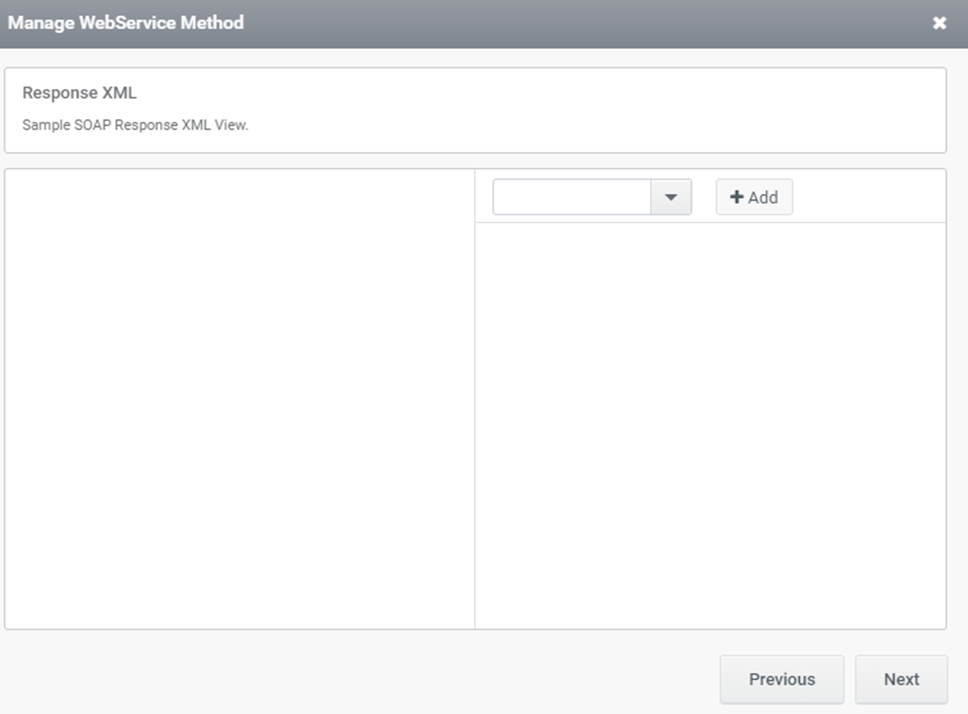
10. Click Next and based on the given body sample soap request xml view will be displayed. The controls can be mapped corresponding to the field.
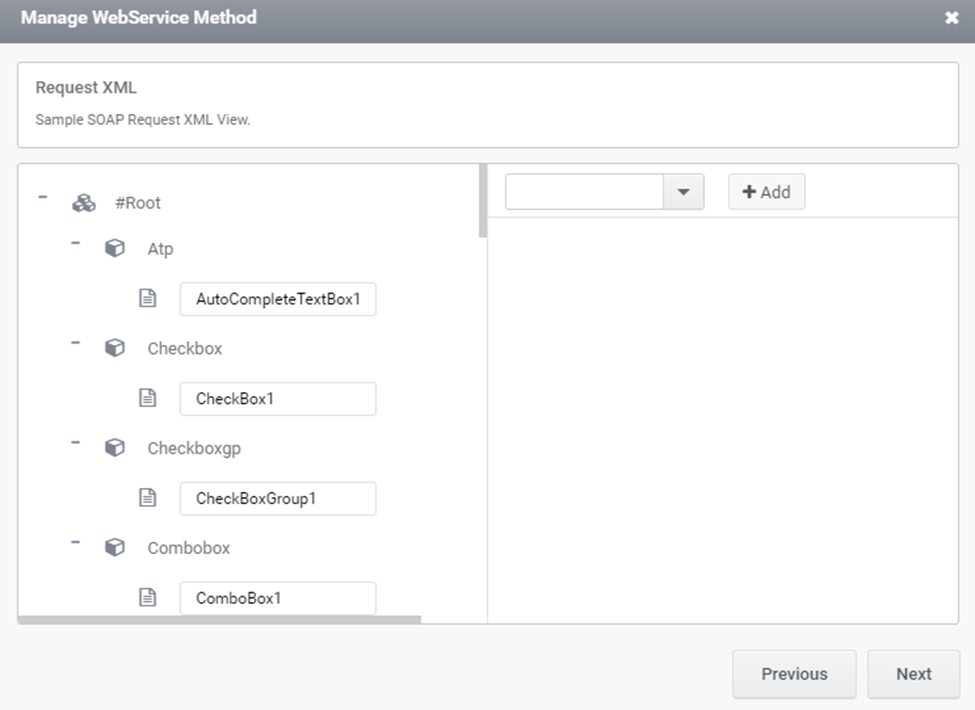
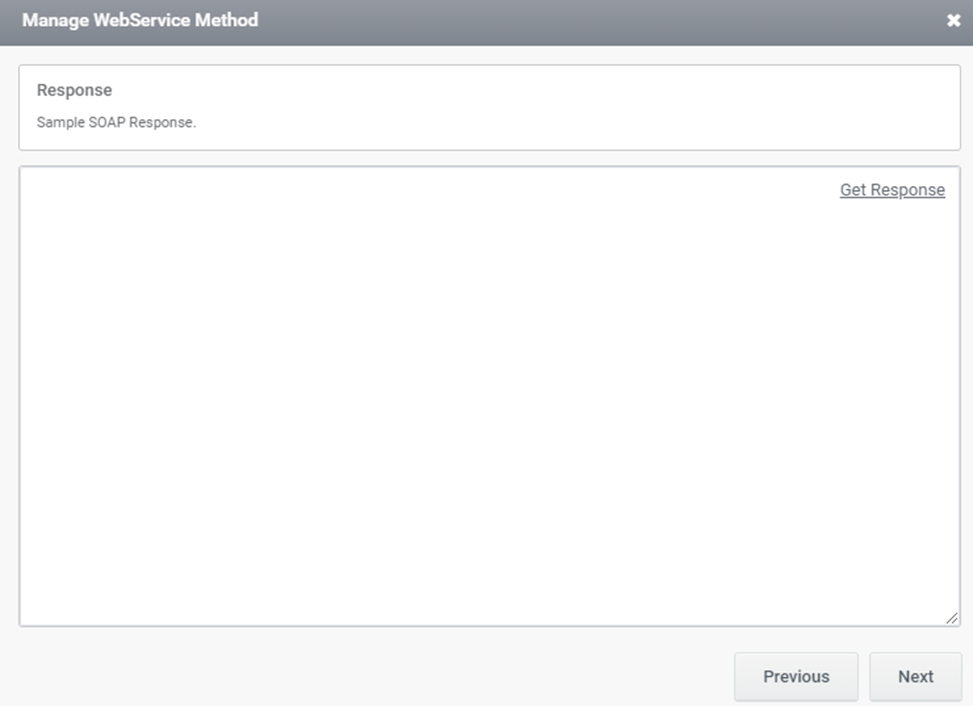
11.The response can be viewed in the next page by clicking Get Response link as shown below.

Get Response page appears as shown below.
12.Click Execute button to get the response and click Next button. Sample response view appears as shown in the image below and click Next.
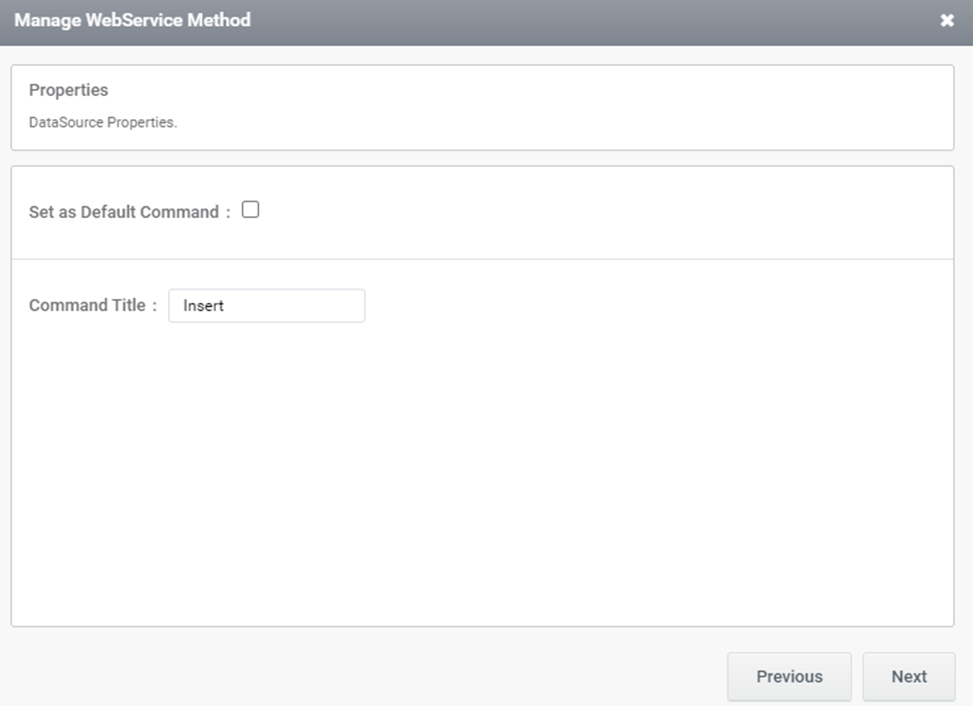
13.Command Title can be given in next page and enable set as default command field to set as default command.
14.Click Next. Trigger can be selected in the next page as shown in the image below.
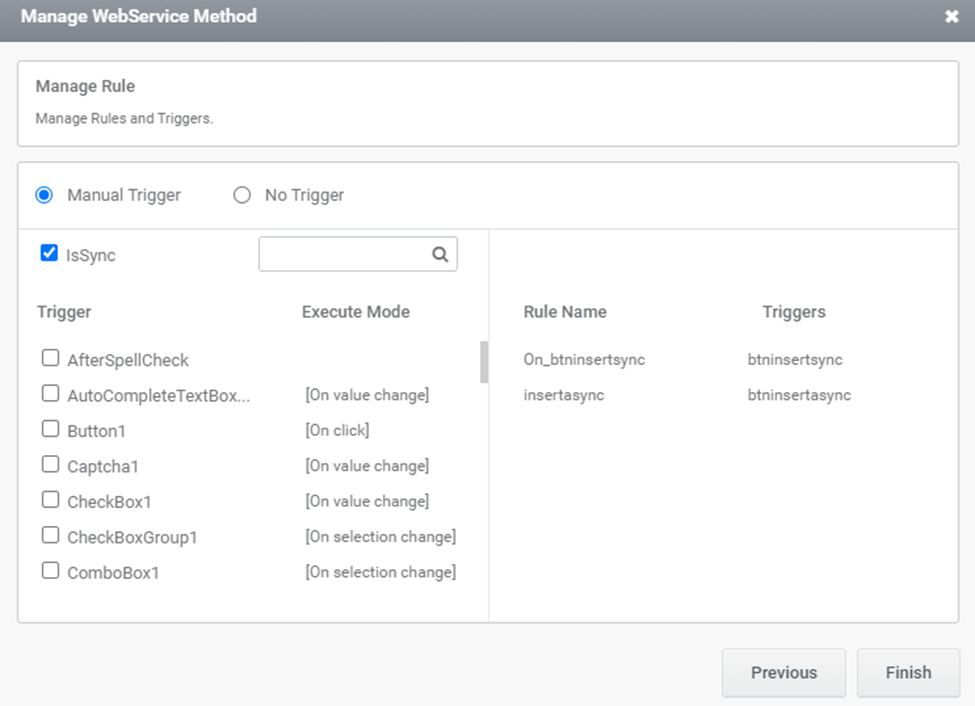
15.Click Finish.