Bottom Panel
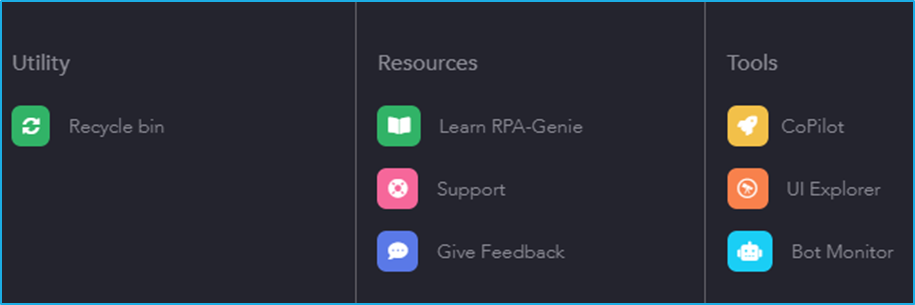
The bottom panel consists of three sections:
- Utility
- Resources
- Tools
The above sections can now be understood in detail:
Utility
The utility section consists of a Recycle Bin icon.
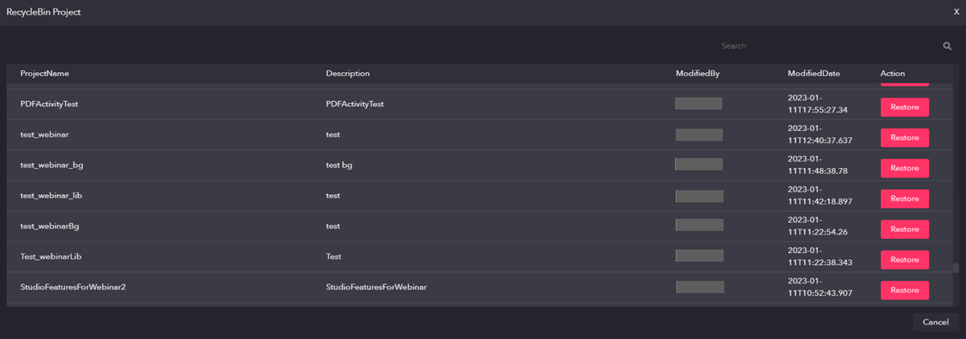
Recycle Bin
This feature contains all the projects that have been deleted by any of the users. Also, there is a restore option in the ‘Action’ column using which the user can restore the deleted projects as per the requirement.
Resources
The resources section has the following icons:
Learn RPA-Genie
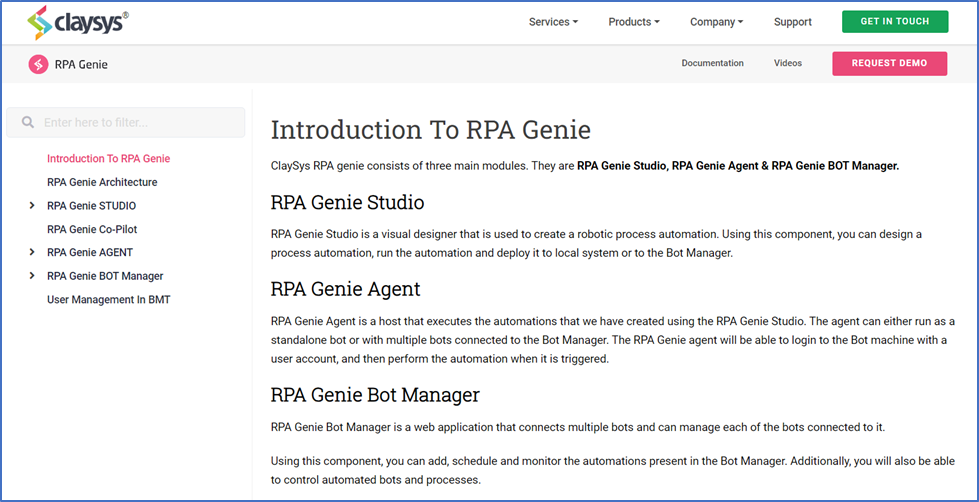
On clicking the ‘Learn RPA-Genie’ icon, it will navigate the user to an online documentation where the user will be able to gather in-depth knowledge about RPA Genie.
Support
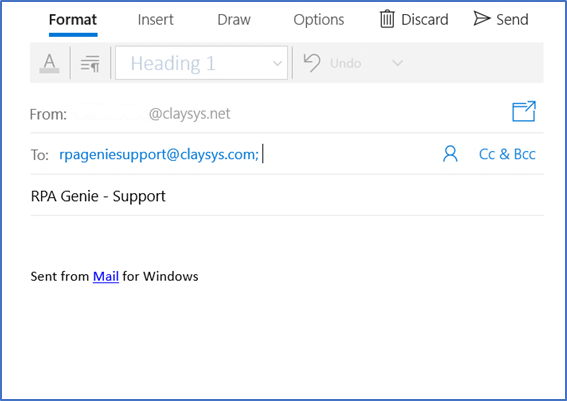
If the user needs any kind of support regarding RPA Genie, an email can be sent to the Support Team by clicking on the “Support” icon. The user will be able to see a mail window in which the ‘From’ and ‘To’ addresses and also the subject (i.e., RPA Genie – Support) will be already mentioned as shown in the above image. User can specify their concerns or issues anytime via the mail.
Give Feedback
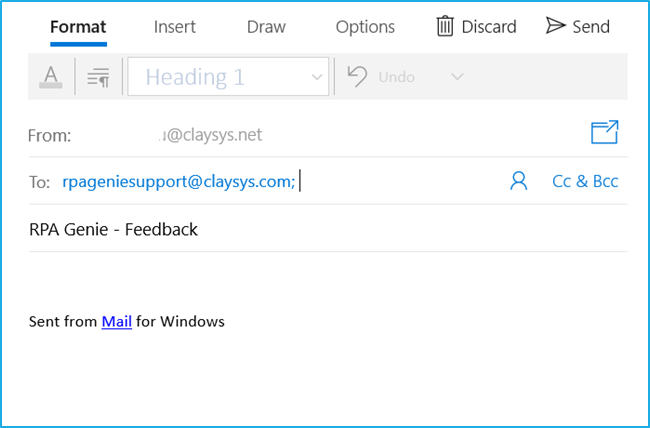
Users can also convey their valuable feedback by clicking on the “Give Feedback” icon which will be redirected to a mail window. In this window ‘From’ and ‘To’ addresses and also the subject (i.e., RPA Genie – Support) will be auto-populated as shown in the above image.
Tools
The tools section has the following icons:
Agent
Through Agent, the user can manage processes, register and connect the robot to BOT Manager. The Agent will be accessible from the System Tray. Upon right-clicking on the agent icon in the System Tray, a menu with options for Settings, Packages and Exit will appear.
Users can start, pause and stop processes from the Agent. Users can register a bot using the agent. Once registered, the bot will be automatically connect to BOT Manager
N.B. – Ensure agent service is in running state in the Services application.
Bot Monitor
The Bot Monitor will redirect the user to the Bot Manager to which the RPA Genie Studio is connected.